Skyline Photography Viewpoints in New York
New York, USAProduction
A sunset frame of Lower Manhattan — the right angle, the right light, and a spot a small crew can work from.
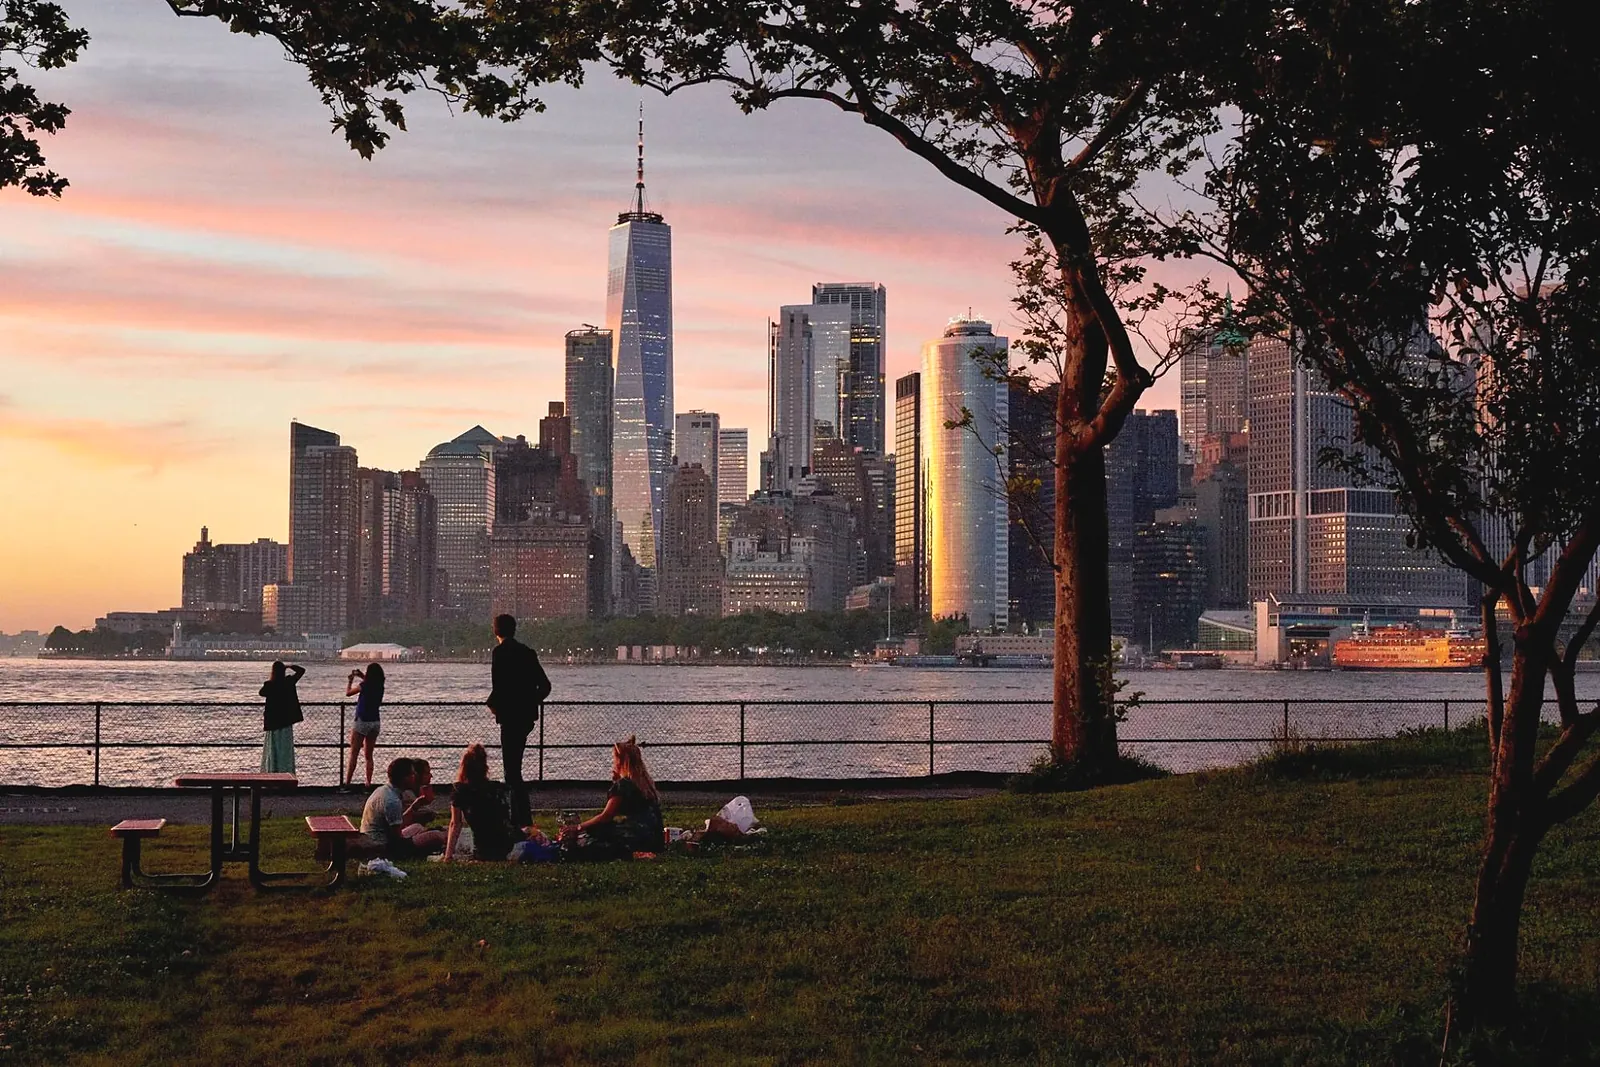
Waterfront parks, piers, bridges, and public rooftops facing the Manhattan skyline — scouted for angle, where the sun sits at your hour, crowds, access, and what a tripod or crew needs permission for.
Report overview
Shoot-readiness
Workable for a small crew once the vantage point, the light, and the rules on equipment are pinned down. The angle is the decision; permissions and access are what to verify.
Best shooting window
The half hour around sunset, and blue hour after it — when the towers light up against a darker sky.
Main visual opportunity
Water in the foreground and the full skyline across it — reflections, layers, and the city’s lights coming on.
Biggest production risk
Access and permissions. Parks close, ferries keep schedules, and tripods or crews can need a permit.
Location intelligence
Confidence reflects the strength and consistency of available source evidence. Permits, access, and local rules always need confirming before production.
Light
SupportedSunrise, sunset, golden hour, and where the sun sits are calculated from the location and date.
- Check where the sun sets on your date — whether it sits behind the skyline or off to one side changes the shot.
- Behind the skyline, it backlights the towers into silhouettes; off to one side, it warms their glass.
- Blue hour after sunset balances the sky with the city lights.
Camera angles
InferredRead from the kind of vantage point and how the skyline lines up from it — confirm on site.
- Waterfront parks and piers give the classic wide frame with water in front.
- A longer lens from across the water compresses the towers together.
- Bridges and public rooftops add height — and limits on where you can stand.
Access
Needs verificationOpening hours, ferries, and entry rules change — check them for your date.
- Check park and pier opening hours, especially after dark.
- If a ferry is involved, check the last return trip.
- Public rooftops and observation decks often need a ticket or timed entry.
Permits
Needs verificationRules on tripods, crews, and commercial shoots are set by the city and each site — confirm before you shoot.
- Handheld personal photography is usually treated differently from a crew with equipment.
- Commercial shoots and gear on public property may need a city permit.
- Some parks, bridges, and decks restrict tripods or lights.
Crowds
InferredSunset draws people to the same spots — plan around them.
- Popular viewpoints fill up well before sunset on clear evenings.
- Arrive early to claim a position for the tripod.
- Weekdays and colder months are calmer.
Weather
InferredSky conditions decide the shot — check the forecast on the day.
- Broken cloud often gives the most color; full overcast flattens it.
- Wind on the water makes long exposures harder.
- Haze softens the skyline — a clear evening after rain is sharpest.
Production checklist
Before you go
- Check the sunset time and where the sun sets on your date.
- Confirm opening hours, ferries, and any entry tickets.
- Check whether your equipment or crew needs a permit.
On arrival
- Arrive well before sunset to claim a spot.
- Shoot through golden hour into blue hour.
- Keep paths clear — crowds and staff will notice a blocked walkway.
Backup plan
- Fenced off or full? Move along the waterfront for a similar angle.
- Clouds in? Wait for blue hour and the city lights.
- Tripod not allowed? Brace on a railing or shoot at a higher ISO.
Related examples
Scout a location for your production
Describe the shoot, its look, and its constraints — Scout returns real locations, each with its own brief — and a production plan turns the one you approve into a Scout Report.